This blog post is all about what we came up with and how you can do it too!
Here is the before:

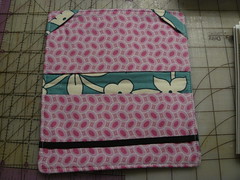
Here is the after:

Here is the How-To:
1. Cut the toddler jeans just below the knee, straight across. Do one first and then fold the pair of jeans in half to get the other leg even.
2. Cut two pieces of groovy fabric that are twice as wide as the jeans where you cut them off. The pieces should also be long enough to extend past where the too-short jeans stopped. Also add an additional 1 1/2" for seam allowance & hem.
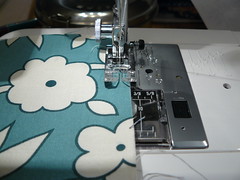
 3. Hem the bottom of the fabric extension pieces with two small 1/2" inch folds. Hemming cotton fabrics is best done with an iron. Stitch the hem at the top of the fold so both layers of the fold get stitched.
 4. Put your sewing machine on the longest stitch length it has, and set your machine tension slightly loose. Sew along the edge of the ring that is not hemmed, leaving nice long threads at each end. Do not back stitch.
5. Gather this side of the fabric extension piece so it's as wide as the cut off pant leg, plus an inch for seam allowance. Tie each end of the long thread pieces so the gather stays.
6. Fold this piece in half so the bottom hems & gathered ends touch each other and you form a ring with each of the fabric extension pieces.
 6. Place the gathered extension fabric pieces, with right sides up onto the cut off jeans and match edges. Make sure the gathers are even all the way around the pant leg and pin the fabric to the end of the jean pant legs.
7. With a 1/2" seam allowance, stitch the fabric extension piece to the jean pant leg on each side.
8. Trim all your threads and you've got yourself some groovy bell bottoms for that flower child in your life.