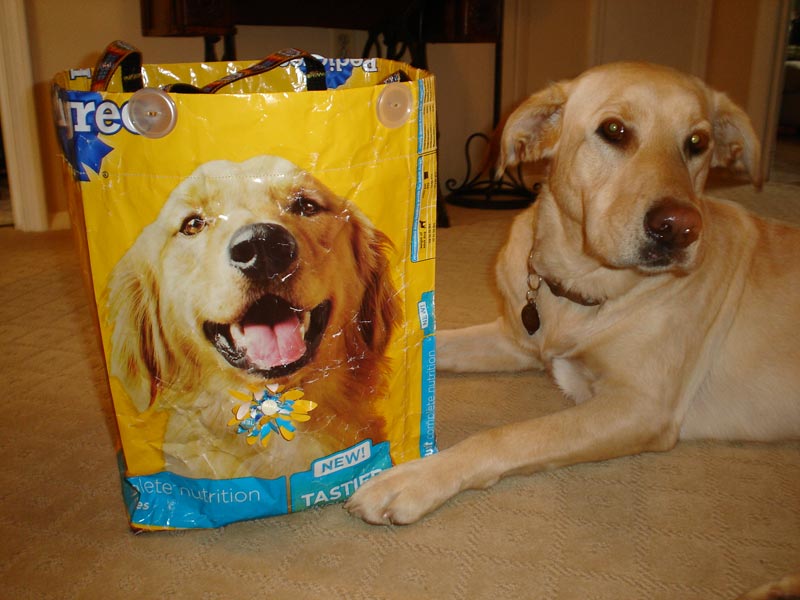
We walked back home, with a big bag of dog food in hand & Antonio happily anticipating his breakfast. As he ate and I checked my email, I came across this great tutorial for how to turn that bag of dog food (after it's empty) into an eco-friendly grocery shopper. And here it is, courtesy of the Sewing Savvy Newsletter.
Supplies
- Dog-food bag -- 20 lbs or larger
- 1 1/2 yards of nylon webbing
- Four 1 1/2-inch buttons
- Embroidery thread and needle
- Rotary cutter, mat and ruler
- Sewing machine and basic sewing supplies
- Flower-shaped paper punch or die-cut machine and flower-shaped die (optional)
- Washcloth and soapy water to wipe wrong side of bag
- Remove as many crumbs from the bag as possible. Cut off the top and bottom of the bag using the rotary cutter, mat and ruler.
- Turn the bag wrong side out and use the washcloth and soapy water to wipe the wrong side of the bag; let dry.
- Open the side folds of the bag and sew the bottom edge of the bag closed.
- Fold up the bottom edge of the bag, centering the seam line, and box the corners of the bag by measuring in 3 inches from the corner of each point and marking the sewing line with the ruler and pencil. Sew along the marked line.
- Turn over the top edge of the bag 2 inches, and then again 3 inches and press using a press cloth and an iron set on the cotton setting. Sew next to the folded edge through all layers of the bag.
- Cut the webbing in two equal lengths and zigzag-stitch across the ends to prevent fraying.
- Mark the placement of the webbing handles along the inside edge of the bag approximately 2 inches down from the top edge of the bag.
- Use a zigzag stitch to attach each of the handle ends to the bag.
- Turn the bag right side out, carefully pushing out each of the bottom corners of the bag.
- Use the embroidery thread and needle to sew buttons through the bag and webbing, covering the stitching lines of the handles.
- Cut out a flower using the punch or the die cut machine and attach to the front of the bag with a button. This step is optional.
No comments:
Post a Comment